
How to stop the squeak in the Whirlpool Cabrio Dryer WED7800XL0 with VIDEO | Replacing the Idler Pulley
Recently a friend was moving. She had a dryer that made noise and she didn’t feel like dealing with it. Thinking our dryer is on it’s last legs, I went and picked up her squeaky dryer convinced I could stop the squeak in the Whirlpool Cabrio Dryer.
Turns out, I was right and it wasn’t expensive at all. Check the video at the end for more complete steps.
Also, yes, I did feel a very strong sense of victory after fixing this by myself. Women can and do fix things!

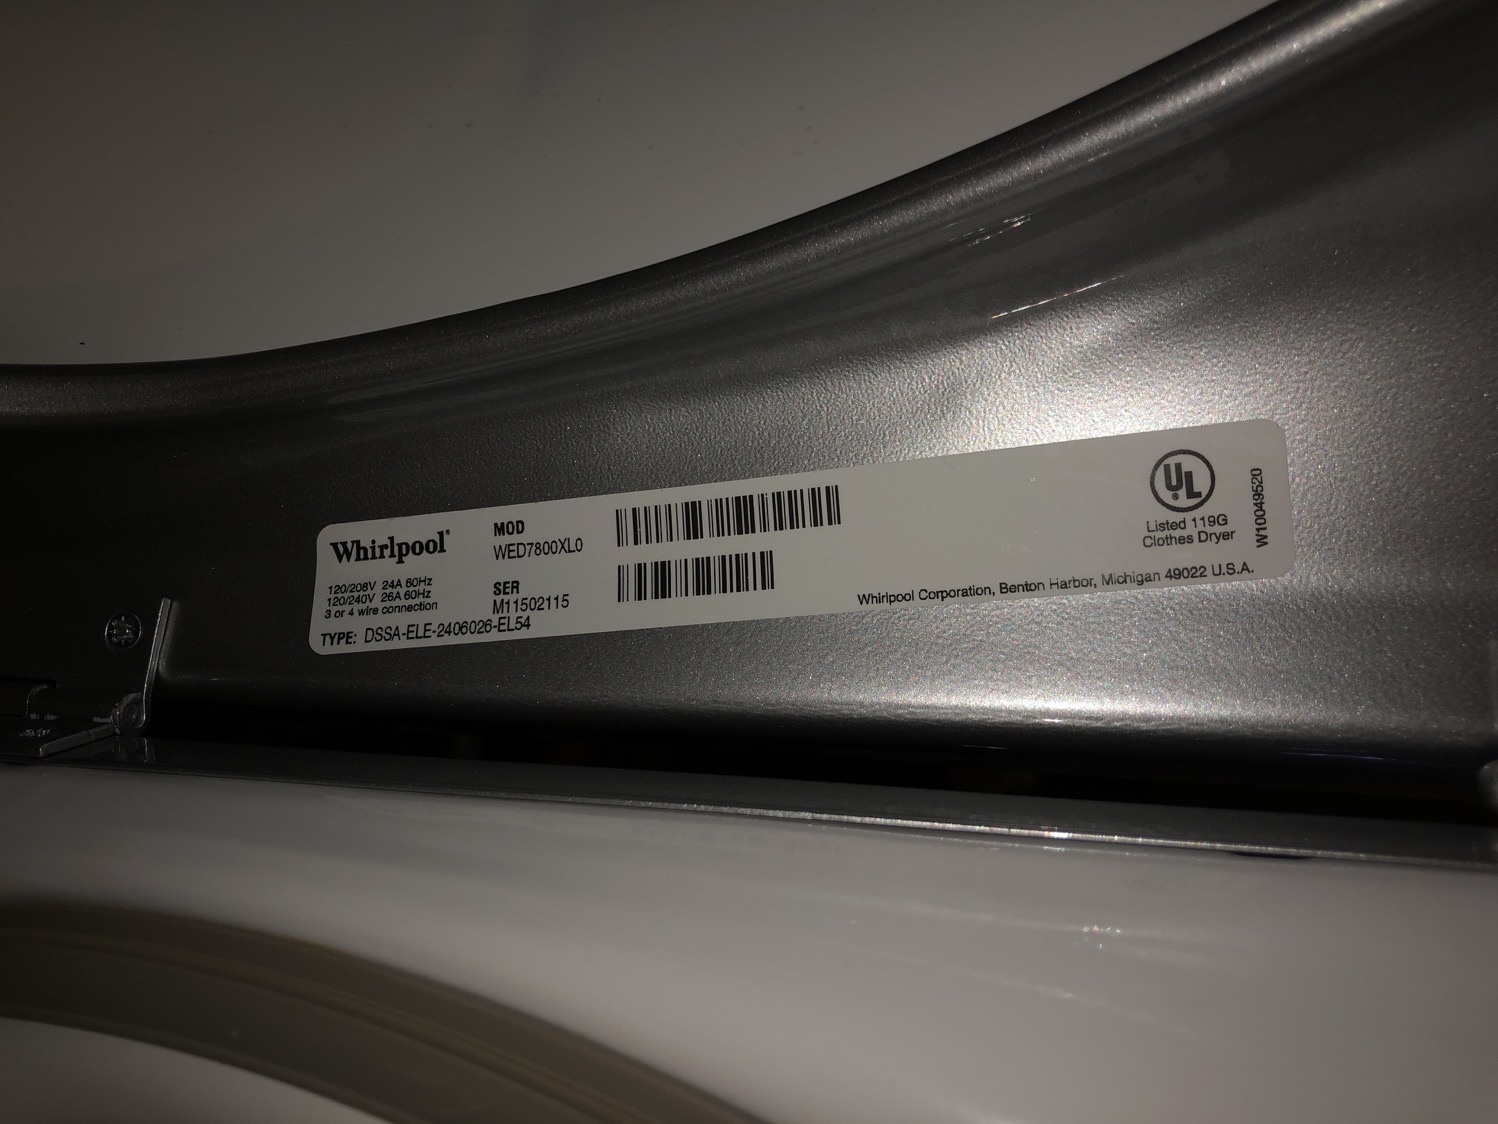
This is for the Whirlpool Cabrio Dryer model number WED7800XL0. I’m not sure if this works for other models.
But, I’ll tell you I couldn’t find a single video or how to fix this specific model, so that’s why I put together my tutorial.
Getting started
If your dryer is making a squeak, squeal or ear piercing noise, it’s highly likely you need to replace your idler pulley.
This is a very common issue and very easy to fix.
Before you go off buying parts, you can easily check to see if that’s what’s causing your issue. Most dryers, you’ll remove the front of the dryer, have to take out the drum and do a whole bunch of other stuff to get to the idler pulley.
Which is what I did when I couldn’t find anything about this specific dryer.

That’s when I saw all of the insides and realized I could see the pulley much closer to the back! (You can see it peeking out here).

So, don’t do that! Don’t take the front off for replacing the idler pulley on this Cabrio. After putting it all back together, I turned it around and took the BACK off.

I’m not saying this isn’t without risk to proceed with caution. With the back removed, turn the dryer on (just the air setting) and see if you can isolate the sound.
Our idler pulley (see the video) was definitely the culprit. You could see it skipping.
Things you’ll need to stop the squeak in your Whirlpool Cabrio Dryer
You’ll need a set of sockets to remove the screws on the back of the dryer as well as to remove the old pulley.
You’ll also need a new idler pulley. I bought mine at a local appliance store for about $25. Turns out you can get them on amazon for a lot cheaper. So if you can wait for a day or two, do that! Make sure you get the replacement part number W10547292.

How to replace the idler pulley in your Whirlpool Cabrio Dryer
UNPLUG YOUR DRYER!
I think this is one of those times where watching a video is actually more helpful. But, I also like to read things so let’s see if I can put it into words, too.
We’ve already located the idler pulley in the inside back of the dryer (on the bottom left). Stop here and take a picture so you remember the course of the belt.
Now, you’ll need to remove the spring from the dryer (leave it on the pulley) as well as the screw (you’ll need those socket wrenches here, too) at the bottom of the pulley.
Take the belt off the pulley and remove it from the dryer.
You should have your replacement pulley handy. You’ll first want to remove the spring from the damaged idler pulley and place it on the new idler pulley.
Next, you’ll want to put the pulley back into the dryer and screw it in. ![]()
After it’s screwed in, feed the belt back over the pulley to match how it was previously done.
Finally, and being extra careful here because the spring is tight, stretch the spring back to the dryer and attach it through the loop. This is definitely a two hand job! Proceed with caution.
Before I put the back of the dryer in it’s home base, I plugged the dryer back in and ran it with air to make sure this was the fix I needed to do. Sure enough, so more noise or squeaking.
It was time to replace the back of the dryer, scoot it back to the wall and dry our clothes in peace and quiet.
Here’s the video. I think it’s a little easier to see and hopefully helps!


Thank you SO much for taking the time to write this post and the video. With your help I was able to fix our dryer on my own with the $13 replacement part from Amazon! I can’t tell you how grateful I am to you for saving our family from what would have been a costly repair-man call.
So very glad you found it helpful! And that you were able to fix it on your own!
You can’t imagine how appreciative I am of you taking the time to come back and let me know this worked for you and saved you money!
Where do I get elbow grease? You never explained that in the video.
We’ll see how we can fix that..I did find some elbow grease on amazon, but I don’t think it’s what you want:)
Keep up the good work! I was able to do this repair without removing the spring or arm. Thanks so much. Really!
That’s awesome you could do it without removing the spring and arm, too! Glad this was helpful for you.
I just changed mine by using your instructions and had it done in like 5 minutes. Bought the part on Amazon for $8. Thanks for your article!
That’s so awesome Kevin! Glad it helped you and you were able to get it done quickly!
This video was tremendously helpful and I was able to make the repair in 30 minutes time after receiving the part as ordered. Great instructions and saved me a lot money on a repairman. Having a socket wrench set is a must as stated. On my Cabrio unit, I used a 10mm to remove the pulley itself and 8mm to remove the nuts on the rear of the unit.
So glad it helped you fix it! Yes, that socket wrench is a must have (I’ve used it so many times). Glad you had one on had with several sizes to get it fixed quickly!
Came home to a squeaking dryer at 9:30pm. Found your post at 9:45pm. Got the dryer pulled apart during my kids’ naptime the next day, went out and bought the part at a store, had it home and in the dryer and running nice and quiet by 4:30pm. Less than 24 hours and my dryer was fixed, thanks to your article! Thank you so much for writing and posting this, it was so helpful, and so nice not to have to call a repairman over something so simple!
Hi Ruth-
THANK YOU so much for taking the time to write and let me know how this helped you! I really appreciate it and I’m so glad to hear that you saved so much money anbd time and have your dryer back without all the noise!
My wife and I both saw this post. I read through it and it sounded a lot like what was going on with our Dryer. I pulled it and checked and it seemed to be the issue. I ordered the part off amazon for about $16, there are cheaper versions but not the official Whirlpool part. (I would stick with official parts since sometimes knockoffs can cause you issues in the long run). Once I got the part it took me about 45 minutes because my dryer is in a real painful spot to get out and the external air vent is hard to get back on. Changing the part was easy. Worked like a charm, no more squealing, screeching or banging. The actual problem is that the pulley itself has bearing in it that go bad after awhile. It’s not so much of a skip as it is a grinding because the bearing have failed. Anyway, thanks for the article, it saved me about $250 in repairs.
So happy to hear this worked for you. I agree that it seems like the bearing is the problem. Somebody suggested just replacing that, but I didn’t see a part or a way to do it.
Bummer it took the extra time to get your dryer out. I completely understand that. I didn’t think of accounting for that part of the installation.
Glad to have saved you $250! That makes me so thrilled.
Thank you for posting!! Very helpful!!
You are very welcome. Glad you found it helpful! Happy clothes drying!
Thank you for the information and video. I went the expensive route and ordered the part from the manufacturer because I did not want to run into any compatibility issues or be delayed in fixing the dryer. With vacuuming out the dryer and replacing the exhaust hose, the entire process took a total of about 15 minutes. Awesome. I thought I would have to buy a new dryer.
Great news! You are very welcome. Glad it was helpful and made the process quick. And that you saved some money!
Thank you for this video. My husband and I were able to find the problem and fix it. We did it while we were home with our family (a total of 9 people) during the COVID isolation. We were able to find the part online and it delivered in overnight!! We now have a working & quiet dryer!! ????
You are very welcome! So glad you found it useful! And you’ve relieved your ears of that horrible noise.
I fixed our dryer too! Thank you so much for your very informative and clear video. I felt quite empowered, and so happy to be rid of the screaming, clunking dryer noise. ????
Linds! So happy to hear this helped you and you were able to get rid of that terrible noise! And hopefully save some money, too! Happy drying!
Thanks for all the information on this drier repair! Very clearly stated and the pictures made it even more clear. I bought the idler arm on Amazon for $20. I probably could have found it cheaper somewhere else, but I just ordered it anyway.
You are very welcome. So glad you found it helpful! I’m with you, sometimes the convenience is worth spending a little bit more…especially in these times.
I took my gas Cabrio whirlpool dryer WGD8600YW2 apart using your video. It is very similar to your dryer. I haven’t bought a new idler pulley yet, because I wanted to make sure that my old parts looked like.
It was the idler pulley that was stiff and I’m sure the belt was squeaking on it. I took the pulley arm off, pulled the wheel off, and polished the inside of the wheel and the axel (post?) with 0000 steel wool. I put a very small amount of 3in1 household oil on the axle. Didn’t want to over do the oil with a flame near by.
Long story short, there is a “kill switch” right below the pulley arm. It is a black switch looking thing that you can see in one of the photos above. I put my whole dryer back together and it wouldn’t work! The kill switch was activated, which I didn’t discover there even was one until I took the dryer apart again! I jiggled it a bit and it all works fine now. One more thing to remember.
Thanks for this tip!
This is where you really caught my attention: “I couldn’t find a single video or how to fix this specific model, so that’s why I put together my tutorial.” I no longer use my clothes dryer, opting instead for an old model solar dryer or radiant heat dryer. A line strung 25′-30′ feet end-to-end while utilizing these weird wooden things called “clothespins.” I learned where to get one from a friend back in the 1980’s who was of the “tree hugger” (non-pejorative) type of personality. He also loved using tools. However, having turned many appliances upside down (usually to retrieve a washing machine drum for use as a fire pit) I applaud anyone who successfully opens a dryer, analyzes what’s wrong, changes the part, and puts it back together. Loved the part about the “kill switch” too. Bravo. Have you considered posting it to Instructables? Lots of repair how-to(s) there!
I’ve never heard of this Instructables before! I always just go to youtube! You taught me something new.
Thanks for the article. It saved a lot of time finding the issue. Oddly the clip holding the pull onto the shaft had sort of disintegrated.. maybe it’s plastic and heat got it.
Anyway, I’m cheap so I cleaned everything and oiled the pulley bearing. Put it all back together using an e-clip to hold the pulley on lol. I keep a set of spares on parts like this (harbor freight has many kits, I find them all useful). So far, it’s running smooth. If it squeaks again I’ll buy the pulley but wanted to let others know some additional tips and possibilities. Thanks again!!
Hi Tom- Glad you found it helpful. I did originally try the oiling route, too and it worked for a few runs of the dryer and then the noise was back. It was a good temporary fix until I could get the parts in. Hopefully, you have better luck.
Ya, mines squealing again.. going to order the part now lol
Thanks!!
At least you have a good fix for your dryer until the parts get there…and you know how to fix it! Good luck!
My model of Cabrio was different – I ended up accessing from the front. This post told me what the likely problem was and gave me enough guidance to be confident. I bought a genuine whirlpool part and fixed my dryer for about 30 bucks. Thank you for taking the time to post this.
Glad it got you where you needed to make the fix and save a bunch of money on a repair person! And now, you likely have some sanity back with a quieter dryer!
Mine is a different model but the video applied!!!! Thank you! Got mine fixed ♥️♥️
So glad the video helped and you got it all fixed!