
How to make a DIY Sign at AR Workshop Smyrna with VIDEO
I recently had a chance to attend a private grand opening event at AR Workshop in Smyrna, Georgia. Having never been to an AR Workshop before, I wasn’t sure what to expect of their process. I did know they were a DIY workshop were you could create your own sign, canvas, pillow case and more.
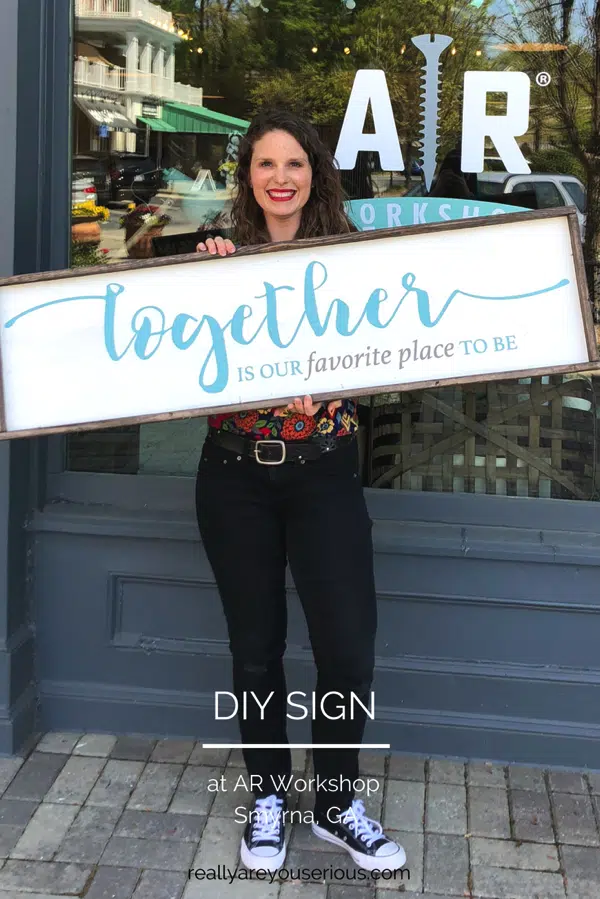
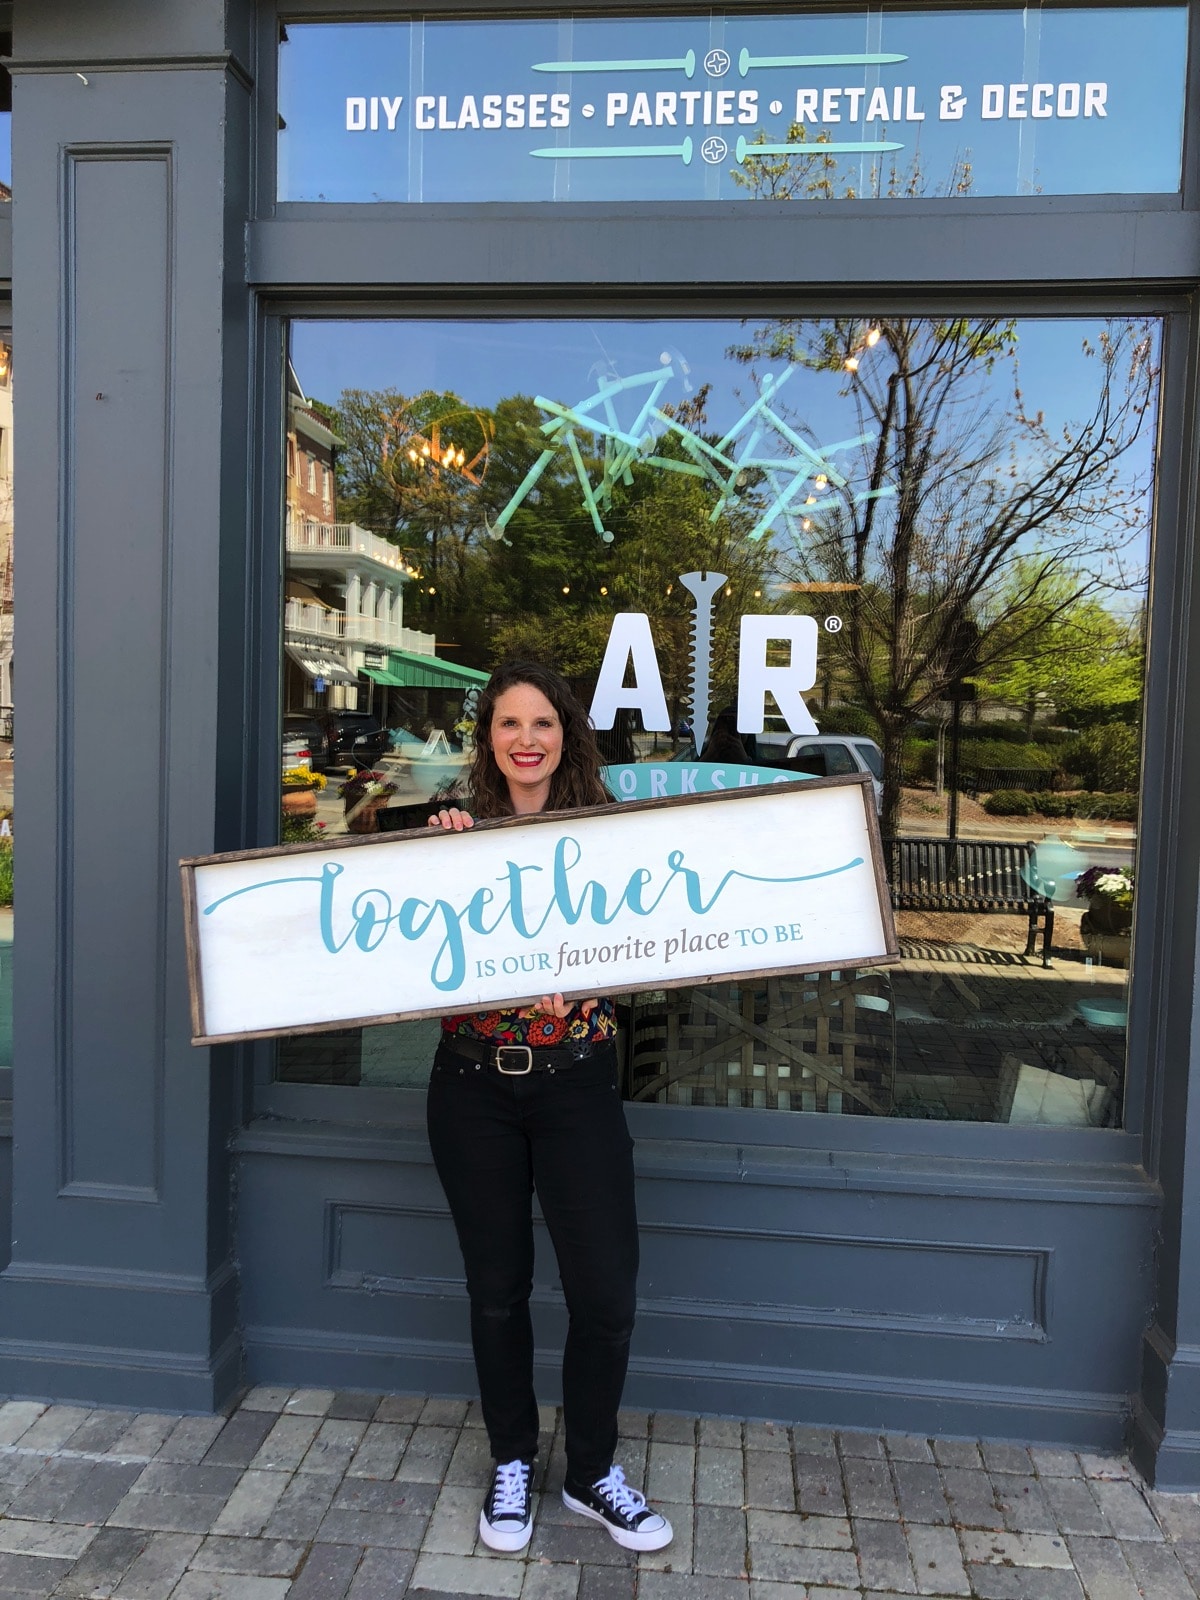
Originally, the owners asked if we wanted to make a sign with our blog logo. But, with limited wall space, I decided to ask if I could created something else. After chatting with the owners I ended up taking the wording from one of their existing signs and creating a slightly different design of my own. Thankfully, they were willing to work with my custom design to make a sign for our bedroom wall.
First Impressions
I was immediately drawn to the colors and the signage at the location.
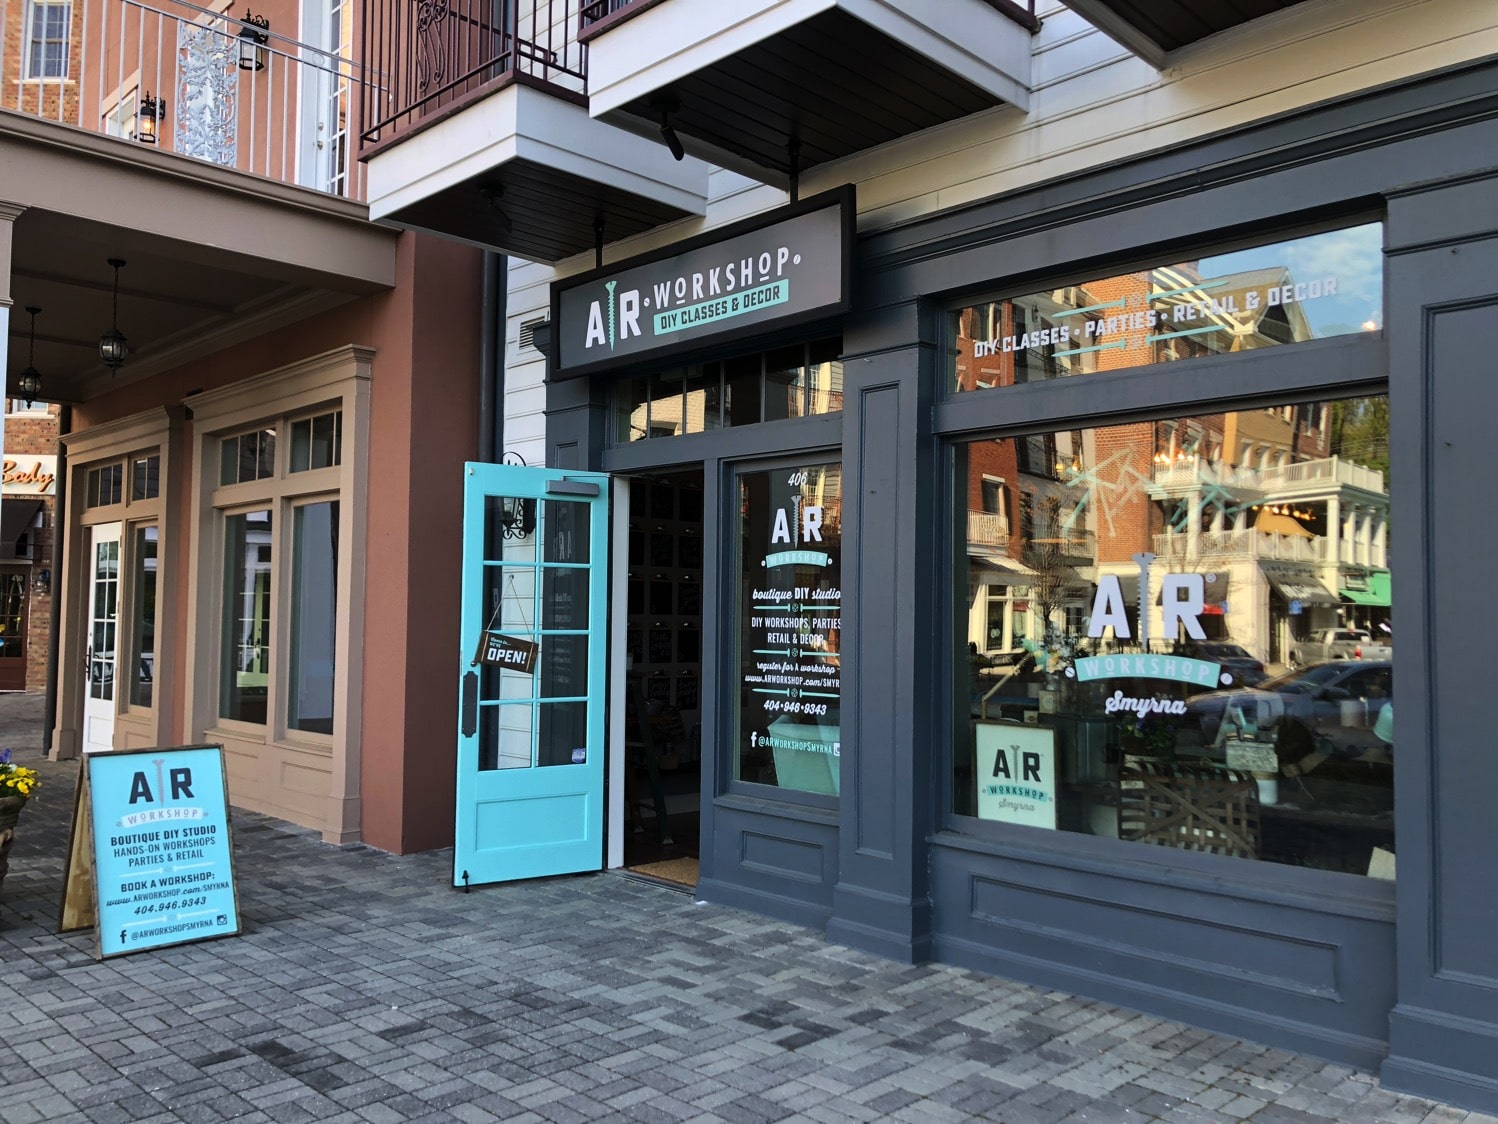
Once inside, everything felt shabby chic and fun! The paint bar displayed all of the paint options in easy to see through bottles.

But they also had paint chip boards and stain boards so you could see how they would look on wood and with the desired finishes.

They had many display ideas to show you other projects you could make at AR Workshop Smyrna, as well as to show you just how those colors and finishes would look on a full project.
And they have power tools. That you get to use! It was pretty exciting seeing so many nail guns ready for us.

They had already created my stencil from the file and design I sent them. And this is when I learned this was completely a hands-on project. We would have assistance, but we would be doing everything! It’s great because I can do my own project and not have to worry about cleaning up my house or having a space for everything to dry. I make a mess, and leave it there!

The entire process was very similar to how I made my DIY canvas art for Christmas. It was just done a lot better at AR Workshop!
Creating our DIY Sign
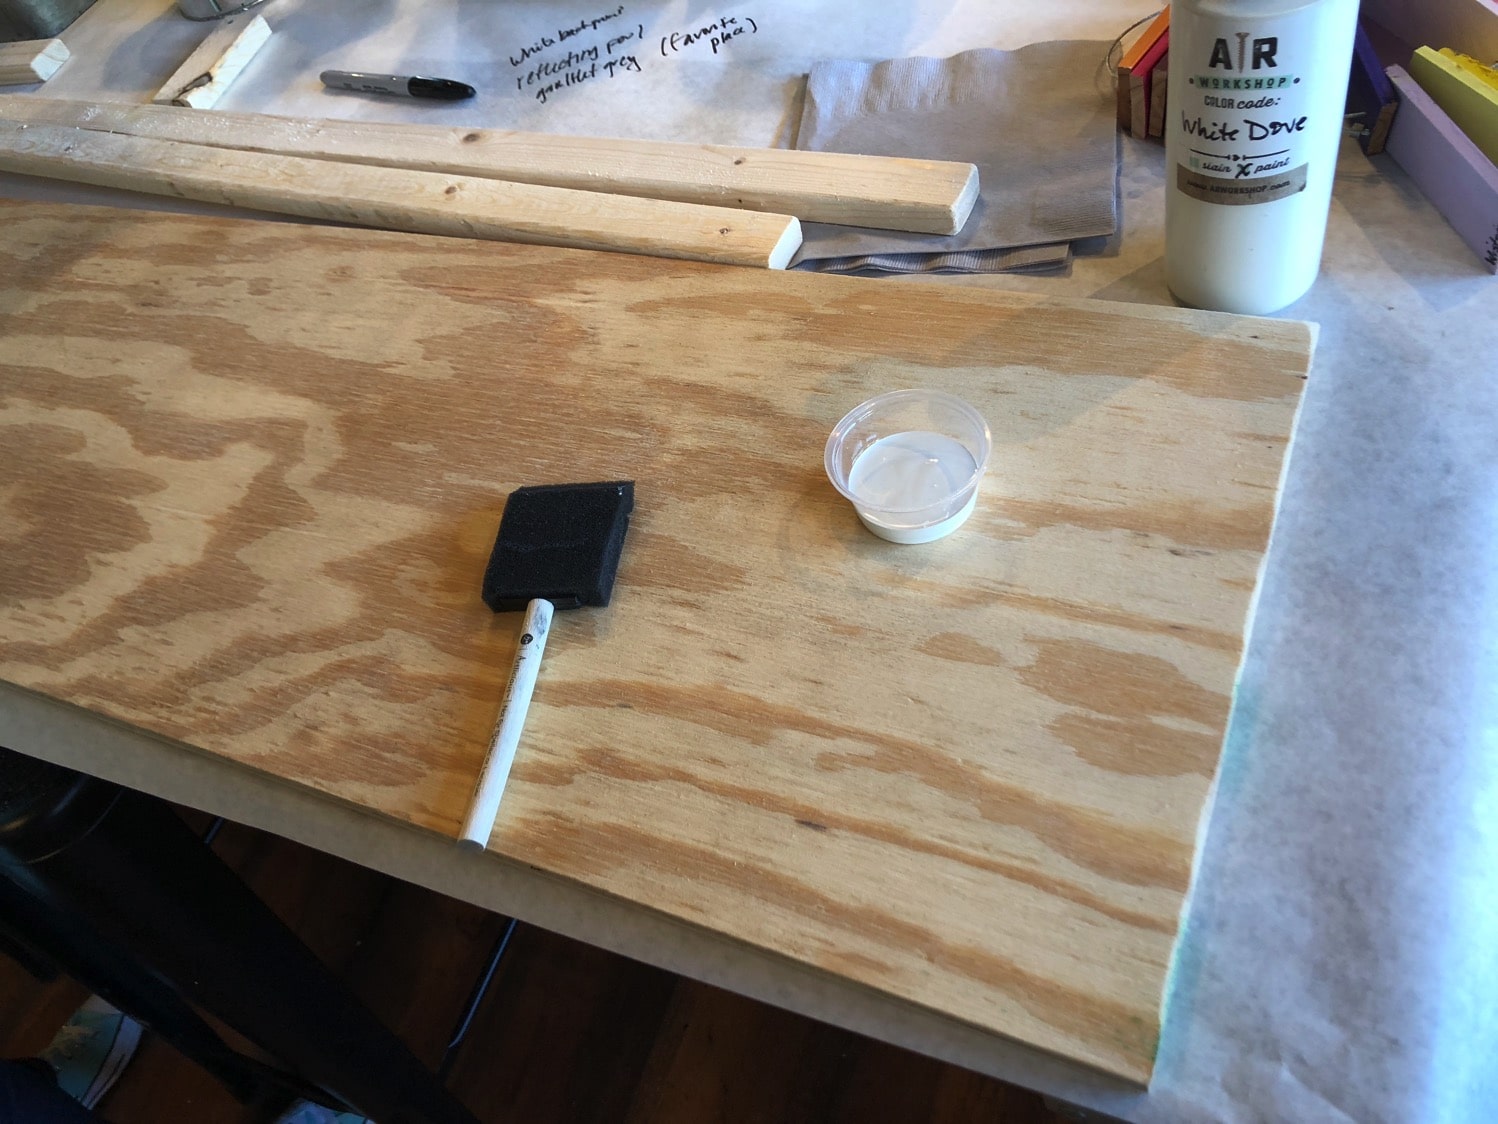
The very first thing we had to do was sand the pieces for the frame of our sign.

We then stained the frame pieces with the color stain we picked as well as painted the background of the actual sign. I used white dove for the sign background.
Then it was time to move that out of the way to dry and get to “weeding”. Weeding is the process of removing the insides of the letters to create the actual stencil. This process is tedious, time consuming, and strangely cathartic.

Next it’s time to apply the transfer tape. When I’ve done this on my own, I’ve used giant pieces. It turns out, using smaller pieces makes it a lot easier and overlapping them gives a lot of support.
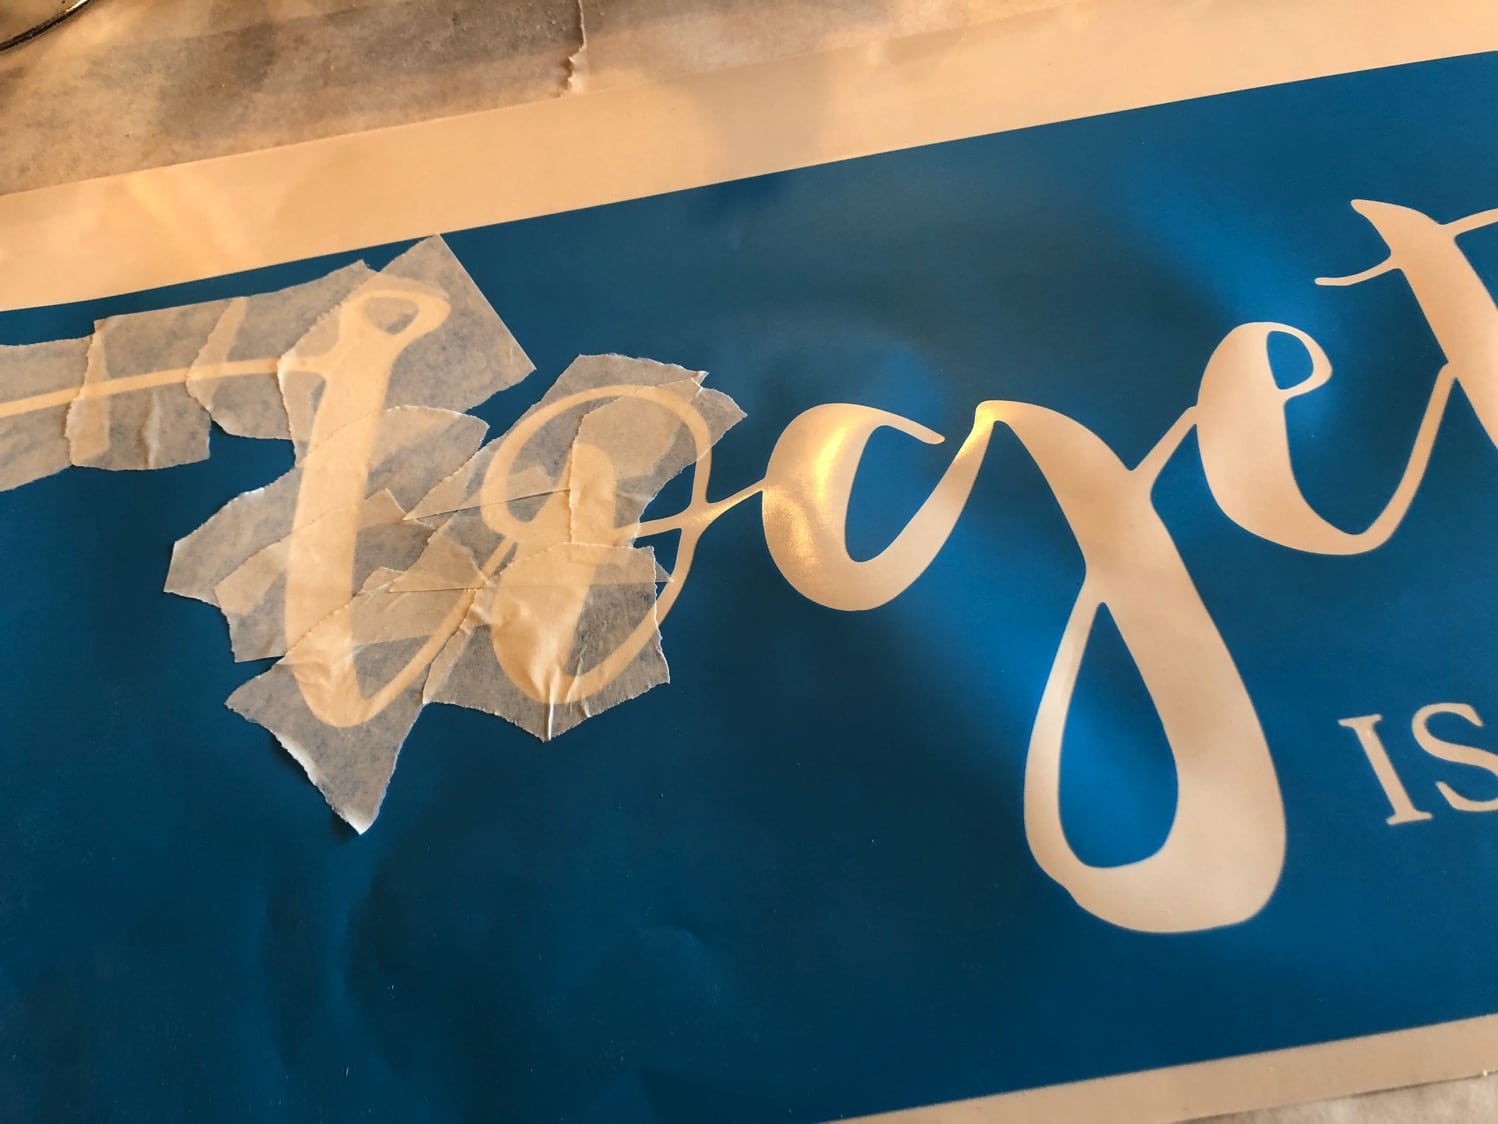
Once the entire thing was covered in transfer tape, it was time to remove it from the paper backing.

Because it was so big, I had help positioning it on my dried white board (remember the one I painted earlier?).

Next, I admired my handy work. It was also important to make sure there weren’t any bubbles close to any of the letters or under any of them.
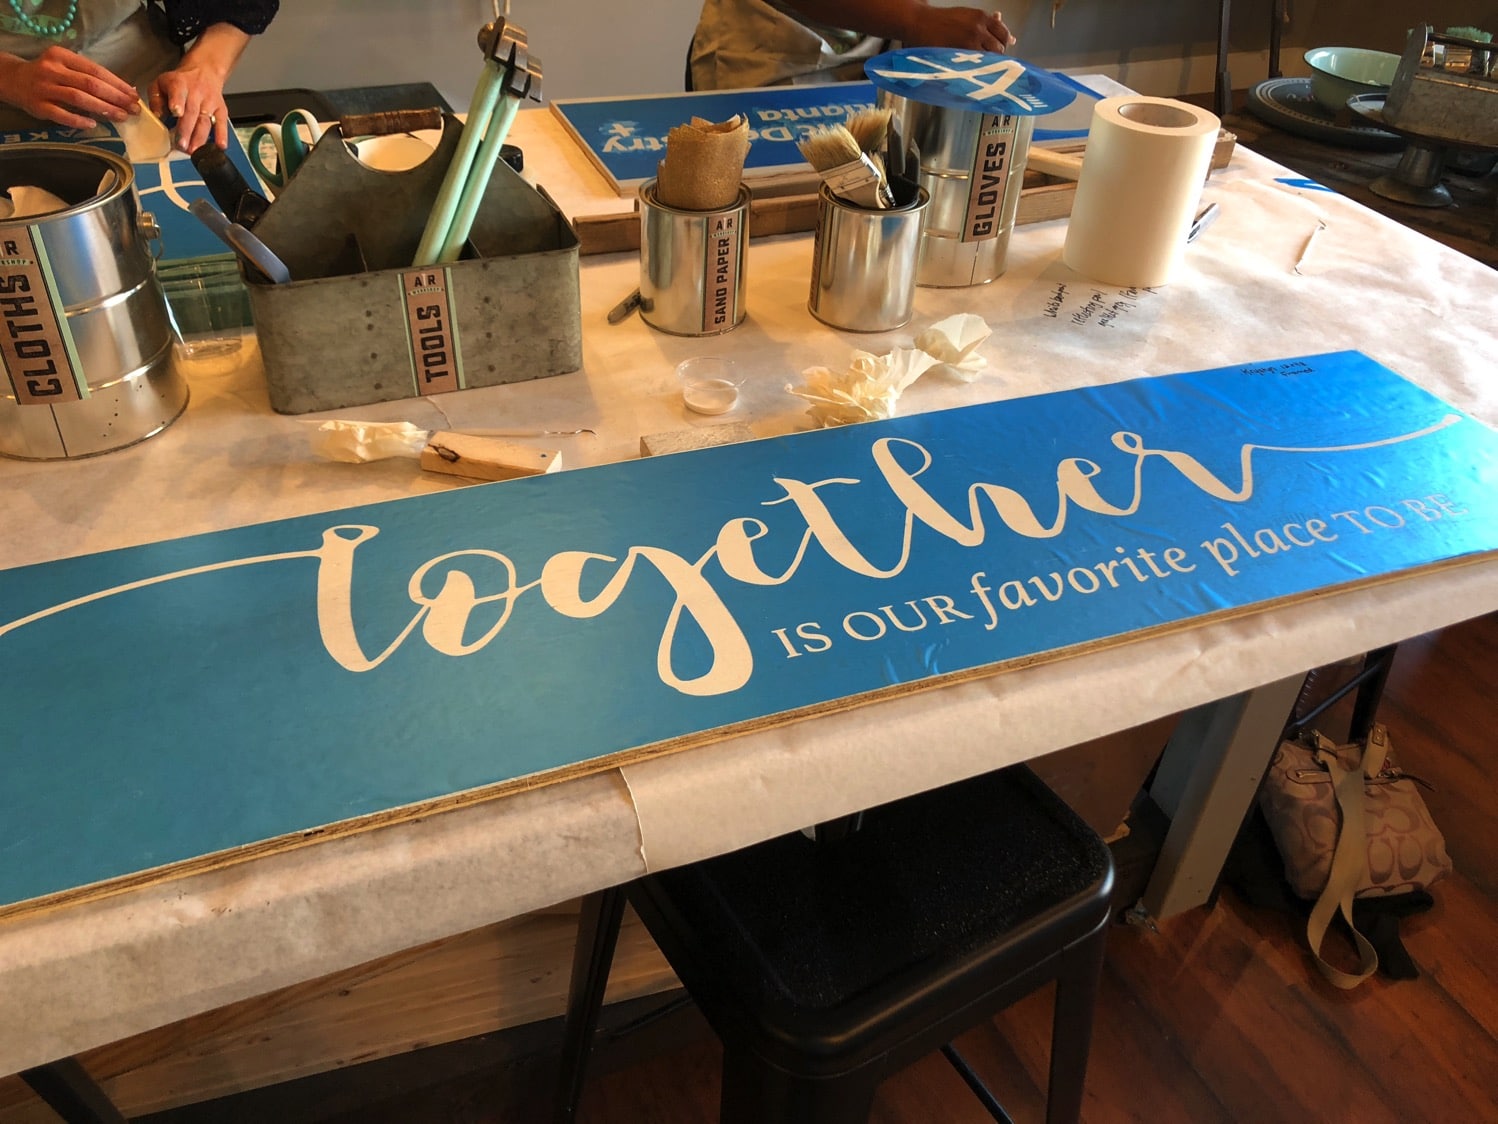
Before putting my color on, I prepped it with clear substance so the color didn’t bleed under stencil (think like
mod podge ). Then it was time for the color. I selected “reflecting pool and gauntlet grey just in case you are following along with your paint choices. It was important here and with the sealant to use very little paint and go straight up and down with a tapping motion, not to paint side to side or you will get under your stencil.

Before the paint dries, you will take the stencil off and again marvel at your work. Once this paint was dry, I used some of the paper that was covering the table to sort of rough up the paint a little bit so the edges were smoothed out and it looked more natural.

Remember that frame that I stained? Now it’s time to nail it onto the artwork.
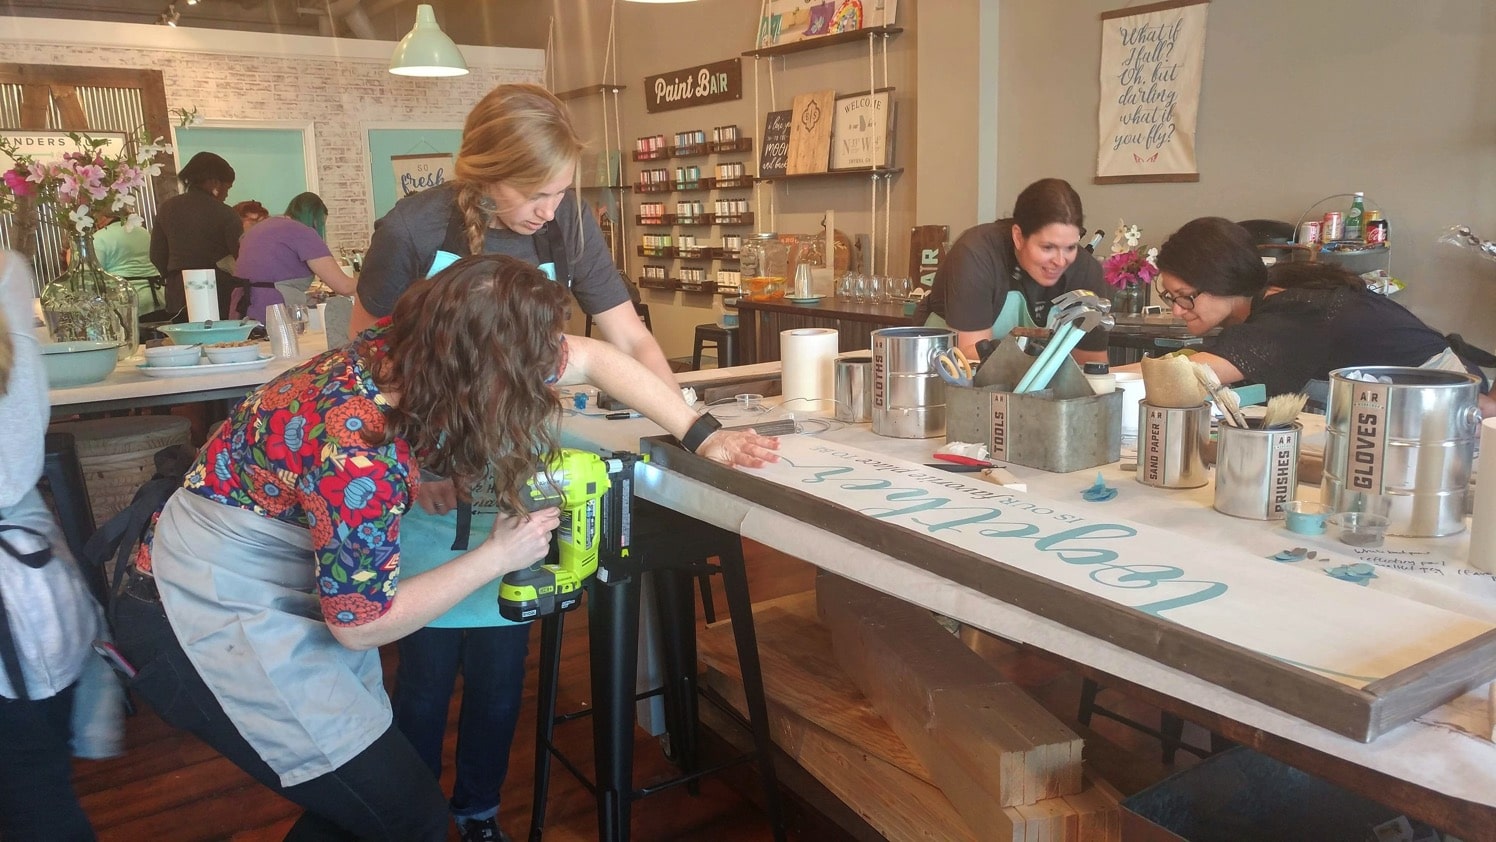
Once it was all ready, they even helped me put wire on the back so that it would be ready to hang as soon as I brought it home. I made a complete project in about 3 hours (and there was talking and chatting and eating and drinking, too. Oh, yes you can bring food and alcoholic and non-alcholic drinks if you want while you are making your artwork, too!)
Meghan made a great canvas wall hanging if you want to see something else that was created at AR Workshop.
Check out the video of the entire process of making my sign, too!


I love your sign, it came out great!
I’m so very happy with it. I immediately came home and hang it on the wall!
I liked watch your process on the video. Someone tell that shop they need stipplers. No one wants to pat paint with a pointed brush!! 🙂
I did make that suggestion. When you have to go up and down and not side to side, those are much better.